

(video transcript below)
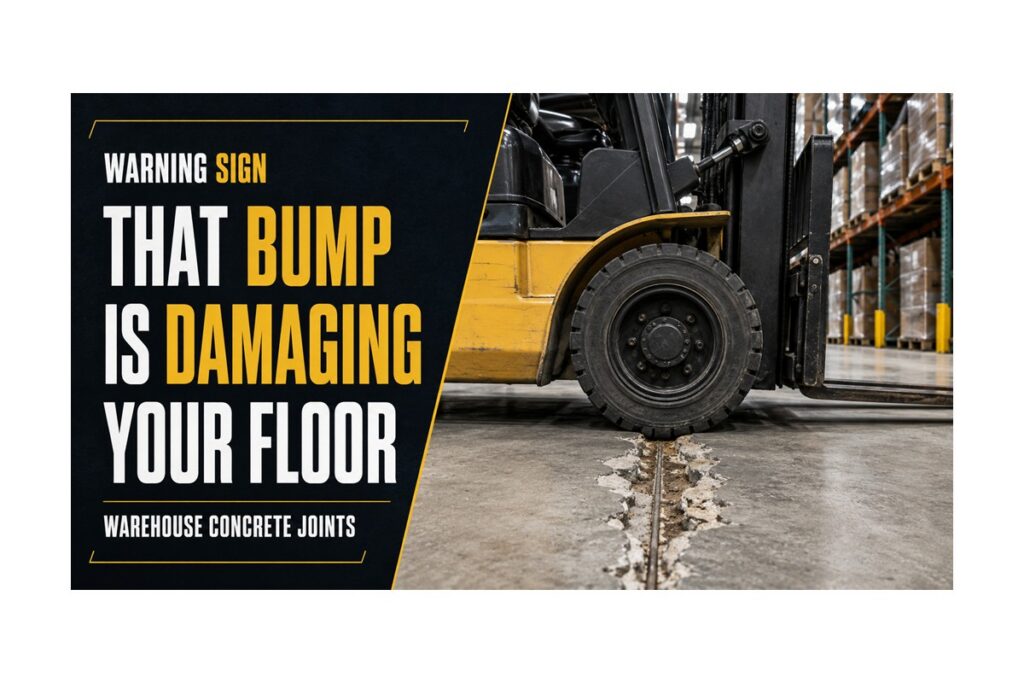
If your forklift operators feel a bump every time they cross a concrete joint, don’t ignore it.
That small impact can be the beginning of a much larger concrete repair.
In busy warehouses and manufacturing facilities, forklift wheels can cross the same floor joints hundreds or thousands of times. When joint filler is missing, deteriorated, or improperly installed, the concrete edges lose protection.
The forklift wheel strikes the exposed joint edge.
The edge chips.
The opening becomes larger.
The next forklift hits it even harder.
Eventually, a small joint problem can become a significant concrete repair.
The Warning Signs
Facility managers should inspect warehouse joints for:
- ⚠️ Chipped or broken joint edges
- ⚠️ Missing or deteriorated joint filler
- ⚠️ Forklift vibration when crossing joints
- ⚠️ Concrete debris collecting near joints
- ⚠️ Widening joint openings
- ⚠️ Previous patches breaking loose
- ⚠️ Increasing forklift noise at specific locations
These are signs that the joint should be evaluated before additional deterioration occurs.
Kansas City Warehouse Concrete Joint Repair
Advanced 360 Total Floor Care provides industrial concrete joint repair for warehouses, manufacturing plants, distribution centers, cold storage facilities, and food processing facilities throughout the Kansas City metro.
We don’t start by asking:
“What can we patch this with?”
We start by asking:
“Why did this joint fail?”
Once we understand the failure, traffic conditions, slab movement, and operational requirements, we can recommend the appropriate repair approach.
Stop the Damage Before a Small Joint Becomes a Big Repair
Schedule an Advanced 360 Total Floor Care Warehouse Floor Health Check.
We’ll inspect your damaged joints and concrete and help you determine what should be repaired now, what can wait, and the appropriate repair approach for your facility.
➜ Learn how professional Warehouse Joint Filler Installation protects concrete joint edges and reduced repeated forklift impact.
Advanced 360 Total Floor Care | Kansas City Industrial Floor Solutions 913-322-6200
Pain-Free Service Guaranteed.
(Video Transcript)
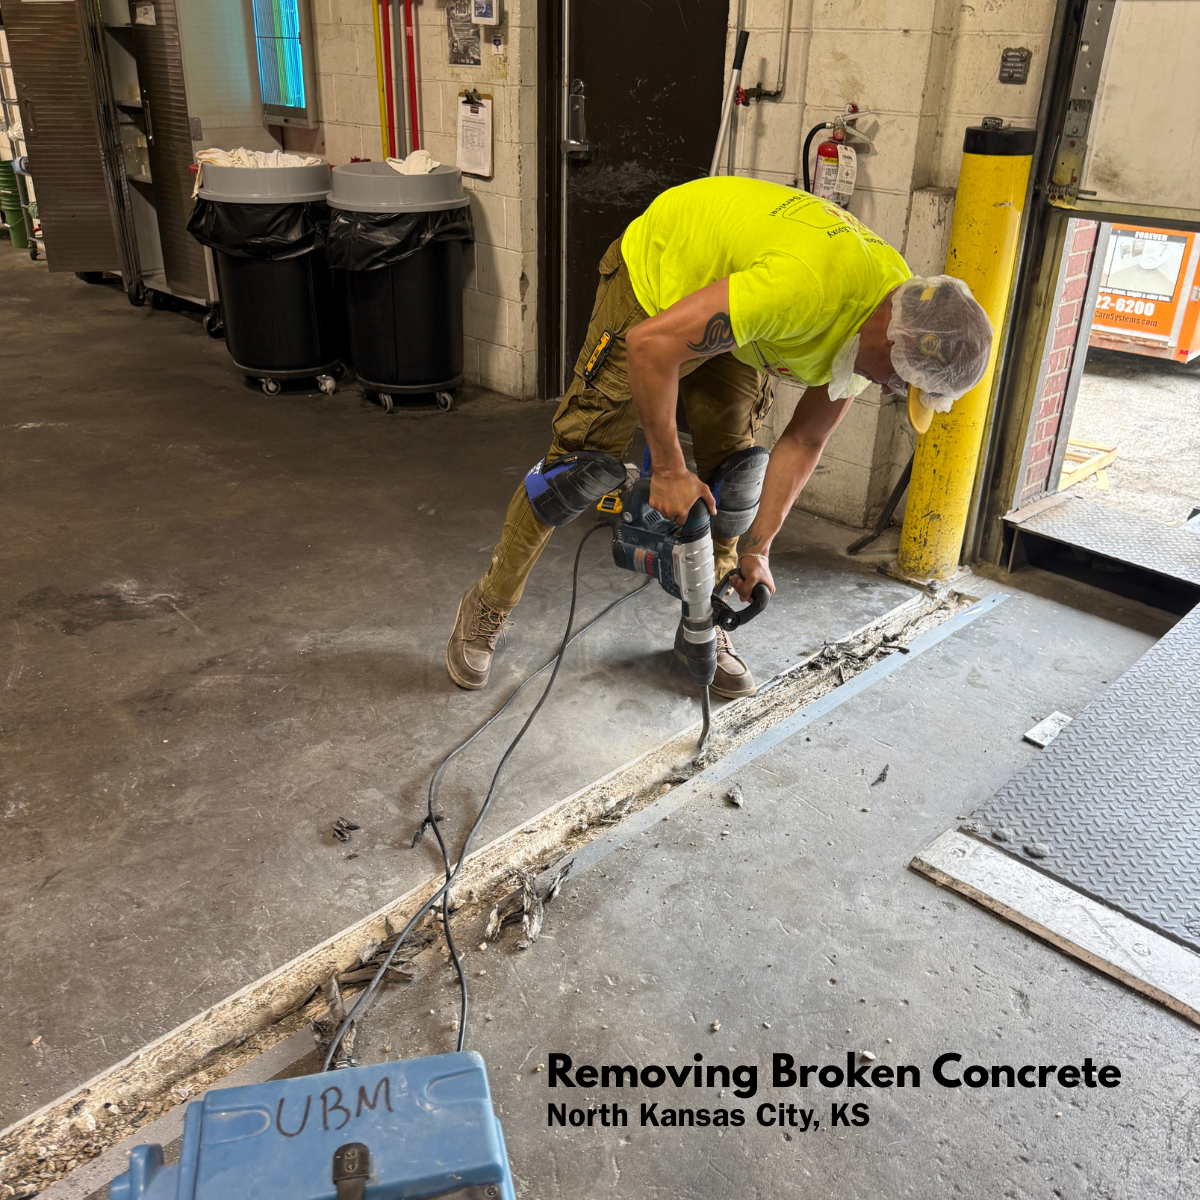
Today, we are rebuilding an expansion joint. Forklifts travel back and forth across this area all day long, and they can cause serious damage.
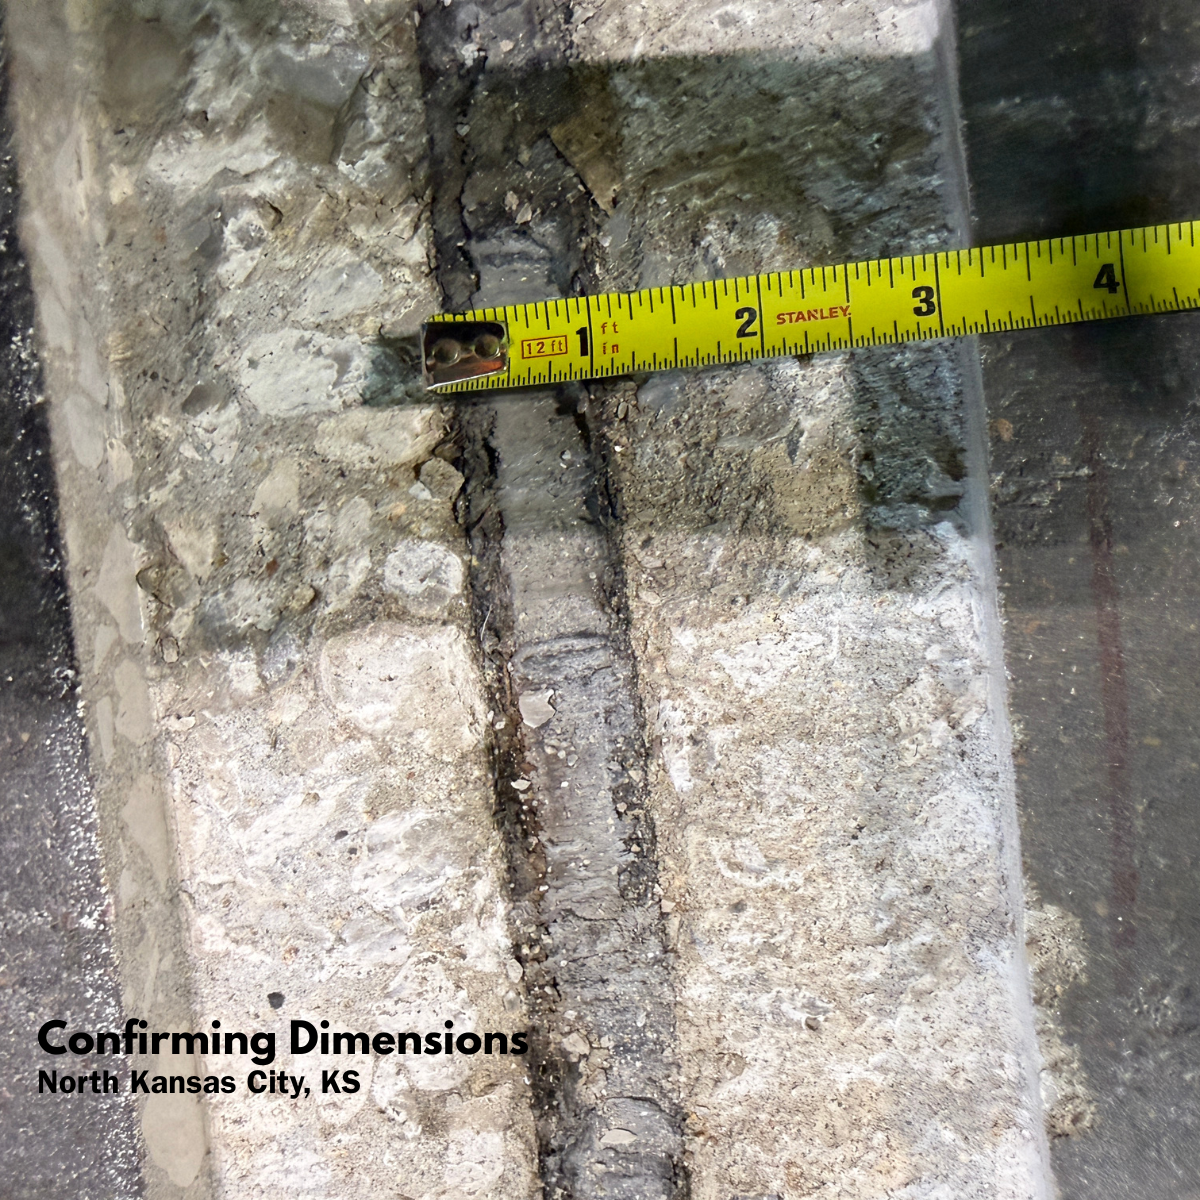
If you notice, the existing joint filler is very thick and wide. Joint filler can be flexible, but it has limitations—and this joint is simply too wide.
We’re going to cut approximately two inches of concrete from each side and remove the deteriorated joint filler. Then, we’ll install a new fast-curing repair material. After it cures, we’ll recut the joint to the proper size and fill it with the correct joint filler.
Joint fillers have limitations. This is only a temporary patch, and it will fail. The joint will continue getting wider—and the wider it becomes, the weaker it gets.
The proper repair method is to cut back the damaged edges, rebuild the area with new repair material, recut the joint to the correct size, and fill it with the proper joint filler.
Because we are working in a sensitive environment, we use vacuums equipped with HEPA filtration. This helps control the dust, keep the facility clean, and maintain a safe environment for our employees and the customer. Every machine we use to cut the concrete is connected to a vacuum.
We also use different types of blades for different purposes. If you have failing joint filler that needs to be removed, we use the Tiger blade. Friction and heat can make the joint filler sticky and very difficult to remove, so this blade is specifically designed for that purpose.
The other blade is designed to cut deeper and remove a larger amount of concrete. These are two different blade designs for two different purposes.
Notice how clean the inside walls of the joint are. The surface needs to be completely clean so the new joint filler can properly adhere to the walls.
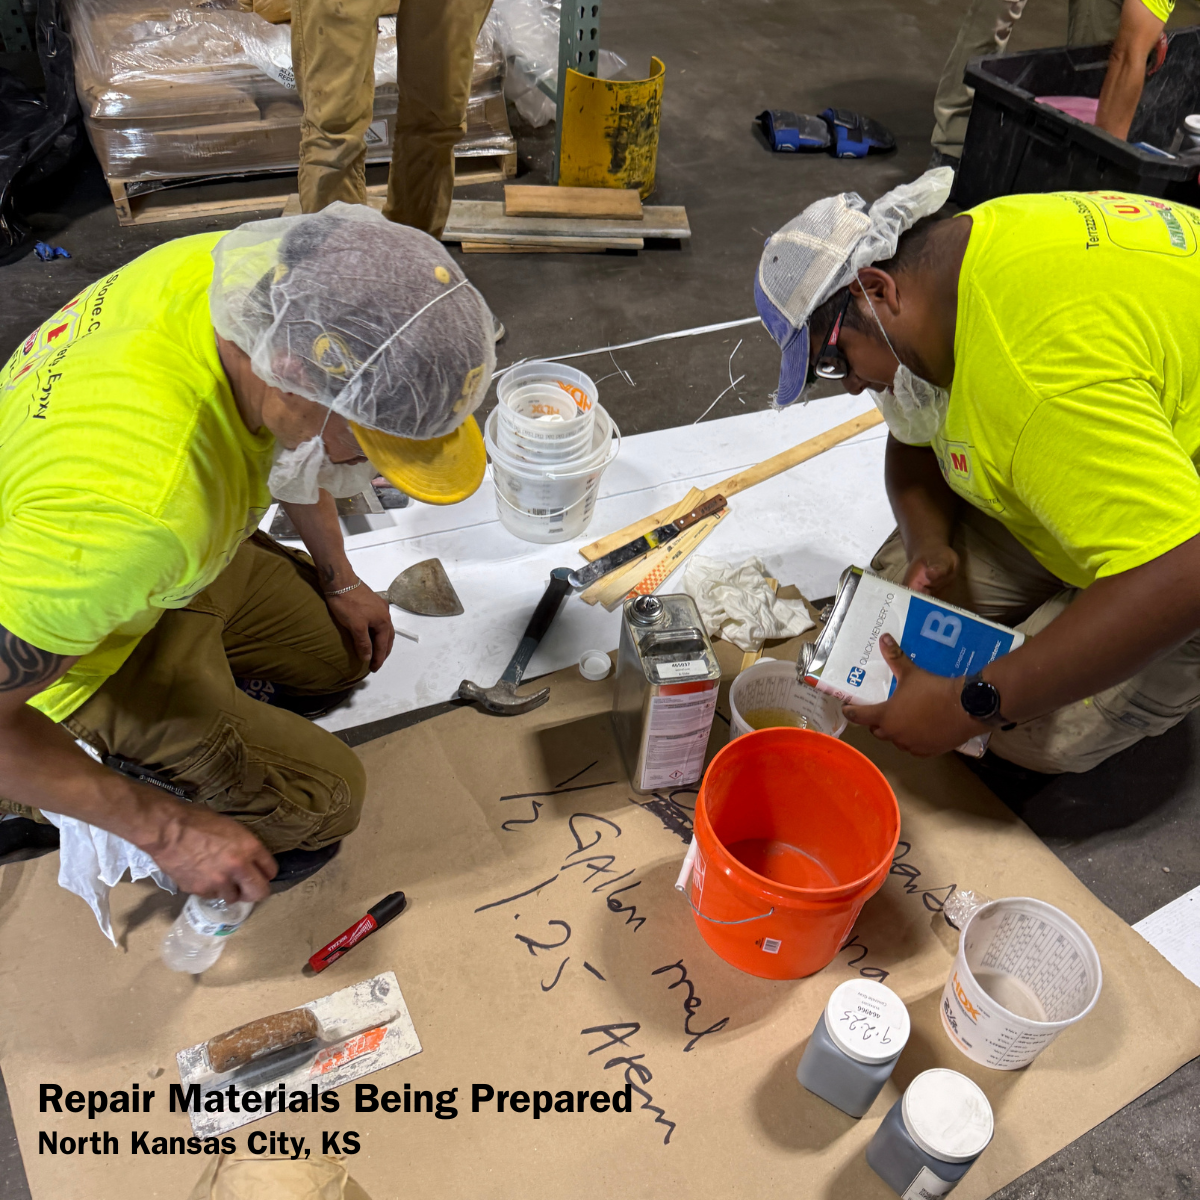
We’re now preparing to mix parts A and B of the repair material. Once it is mixed, we’ll fill the area being repaired. After that, we’ll cut the new joint and fill it.
You don’t have much working time with this product. Once parts A and B are mixed, you have to move quickly. We chose gray because it is closer to the color of the existing concrete.
This demonstrates how quickly the repair material cures. We installed this product approximately 25 minutes ago. That’s how we can get your facility back to work quickly—with minimal downtime.
Jason is now grinding the resinous repair material until it is level with the surrounding concrete. After that, we’ll apply a UV-stable polyaspartic sealer. It will not amber or change color over time.
Next, we’ll clean the joint and install the joint filler.
Pablo is preparing the joint-filling machine. The product has an A side and a B side. The machine pumps and mixes the two components at a precise 1:1 ratio through a static mixer, so the material is fully mixed and ready to apply.
The A and B components are now moving through the machine. Because the machine was cleaned before use, we first need to flush out the cleaning chemical remaining inside it.
We are now at the final stage of the joint repair. We’re preparing to topcoat the repaired area with polyaspartic sealer to protect it from forklift tire marks.
This step is essential. The repair material contains silica sand, which creates a surface similar to sandpaper. Applying the polyaspartic coating protects the repaired area from tire marks.
Jason is cutting a small termination groove. This will create a clean stopping point for the polyaspartic coating being applied over the repaired area.
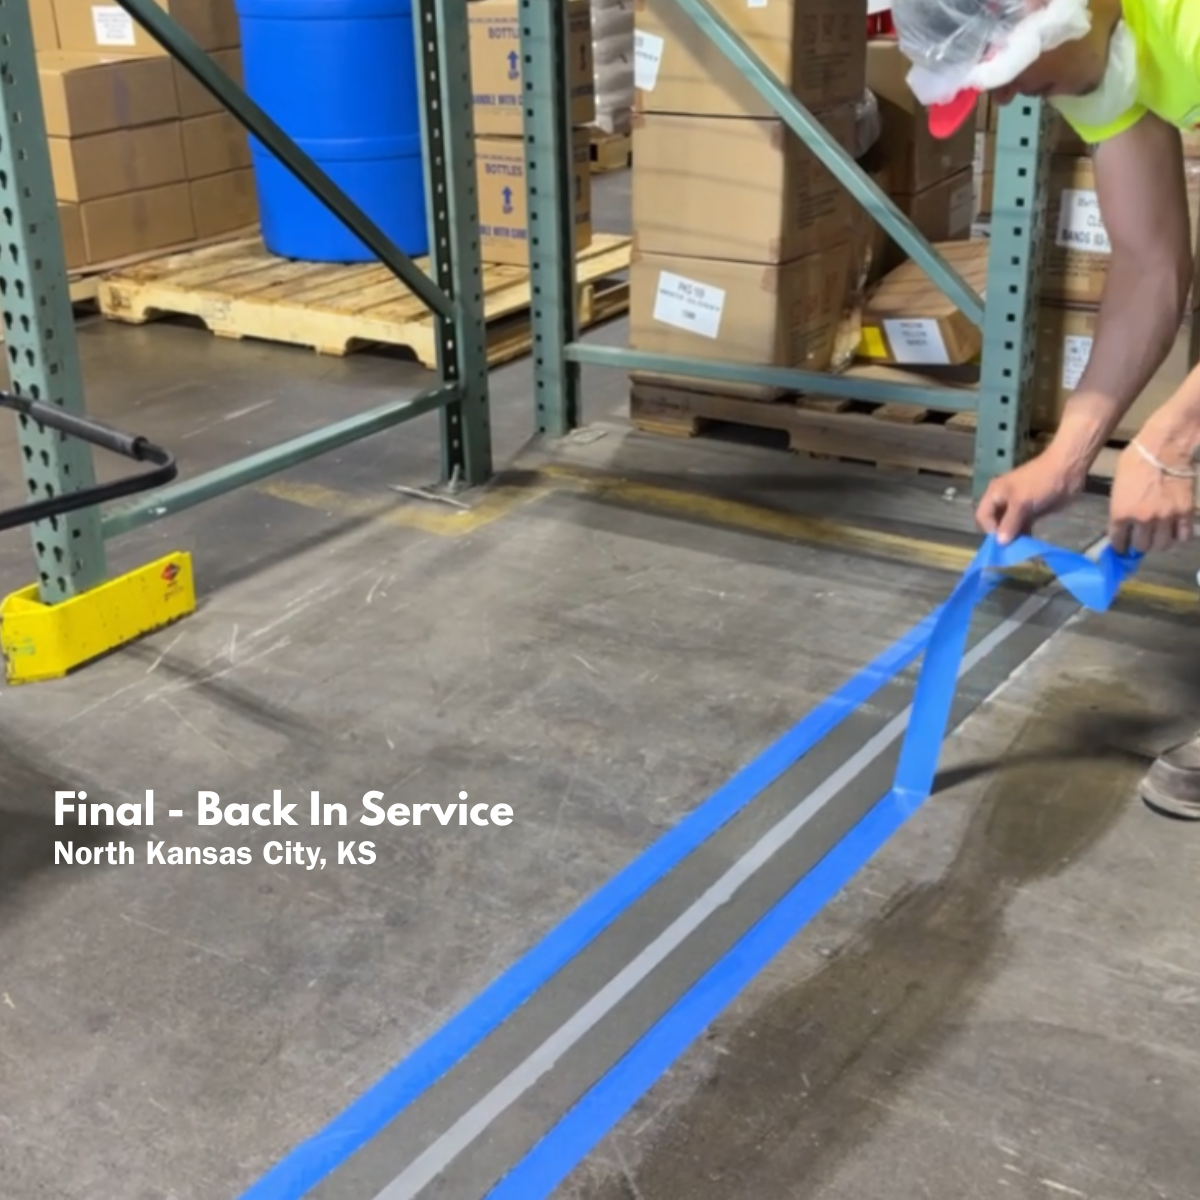
We’ve reached the final step. Jason is applying one clear coat of polyaspartic sealer to protect the completed repair.
The project is complete.

Dana writes about commercial cleaning, healthcare environmental services, and professional floor care for Kansas City facilities. Through Advanced 360 Total Floor Care and Sani-SAFE Kansas City, Dana shares real-world guidance on facility maintenance, infection prevention, floor preservation, inspection readiness, and creating cleaner, safer environments.